
Monday, 16 March 2009
Saturday, 14 March 2009
Sunday, 3 February 2008
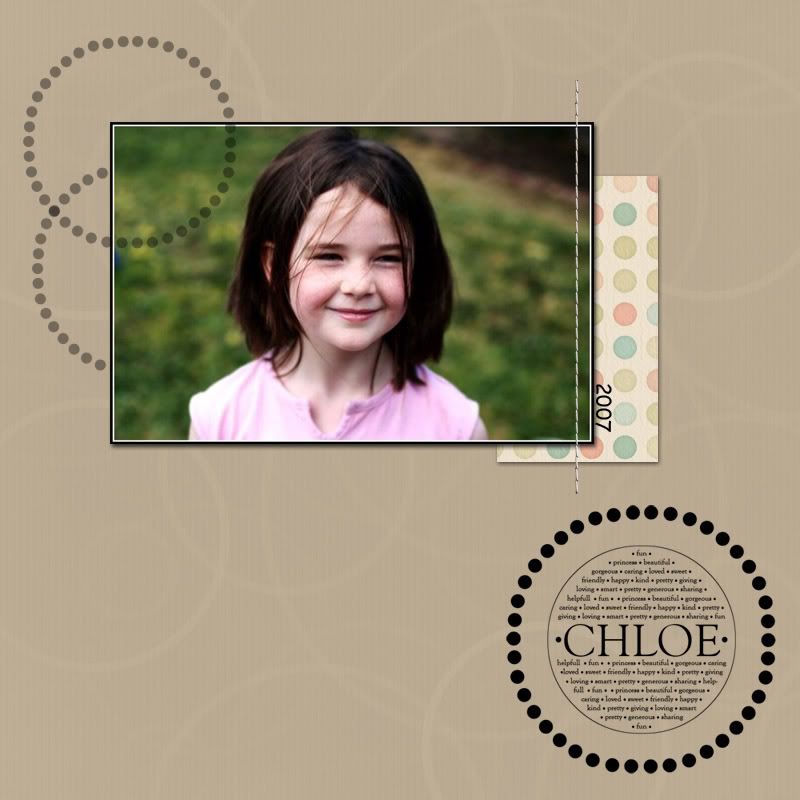
Chole
I'm not happy with this one, but I've been working on it for something like 10 hours so I give up already!
(Click to Enlarge)

Credits:
Papers - Atomic Cupcake - Altered
Stitching - LaWanna Desjardin (Timeless)
Everything Else - Me
Photo provided by Meagan
(Click to Enlarge)
Credits:
Papers - Atomic Cupcake - Altered
Stitching - LaWanna Desjardin (Timeless)
Everything Else - Me
Photo provided by Meagan
Saturday, 2 February 2008
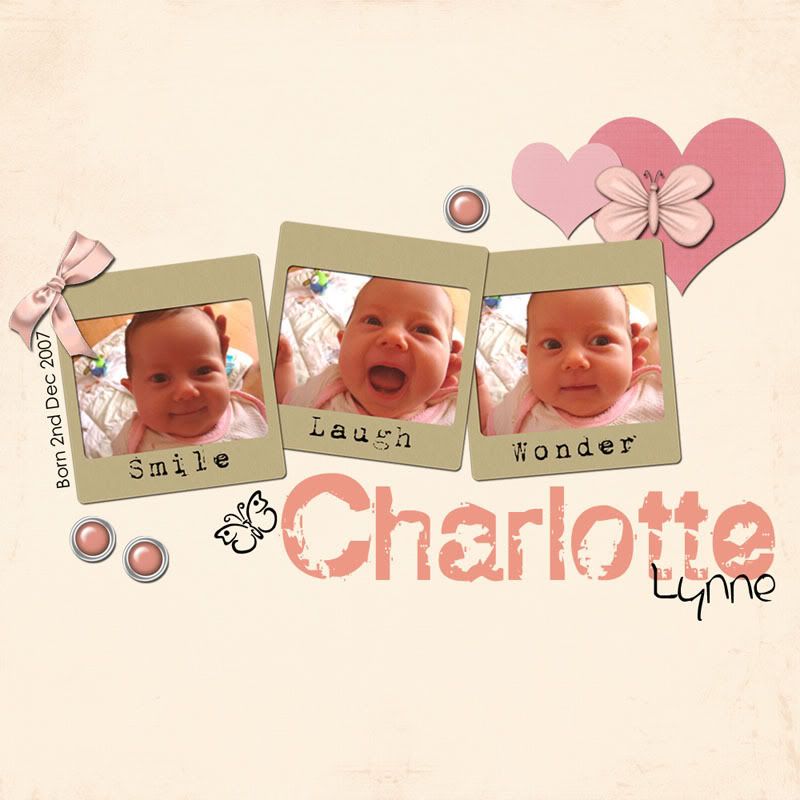
Charlotte
My first C entry - Charlotte. I'm still working on my second so I'll add that if I can manage to get it to look right.
(Click to Enlarge)

Credits:
Paper - Lynn Grieveson
Frames & Hearts - Me
Brad - Connie Crook (Winter)
Ribbon - Gwenevere Dupus (Cold)
Butterfly - Lady Jane
Photos provided by Kel
(Click to Enlarge)
Credits:
Paper - Lynn Grieveson
Frames & Hearts - Me
Brad - Connie Crook (Winter)
Ribbon - Gwenevere Dupus (Cold)
Butterfly - Lady Jane
Photos provided by Kel
Monday, 28 January 2008
Photoshop CS2 - Text on a Path Tutorial
I've been asked about this a few times (which is strange because I rarely use it) and I've seen it asked on a few forums, so I figured I might do up a bit of a tutorial for it.
On a side note, if you want text to follow a shape that's available in Custom Shape Tools, you just have to put the shape in your LO, it already has a path to follow - just click and type!
For this example I'll just be using a heart shape. Ensure the shape/photo you want to follow is on a single layer. Hold Ctrl & click on the thumbnail of this layer - this will create a selection around the shape. Now create a new layer.

As you'll want the text to be slightly away from the edge, you need to expand your selection - Select>Modify>Expand - for this example I've used 5 pixels.

Next, select the Paths tab on your Layers palette and click on "Make Work Path From Selection"


Now select your text tool and select the font/style you want to use. Move your cursor over the path, a small curved line should appear across your cursor (this indicates your text will follow the path). Now just click and start typing! (the text can be edited later the same as normal text)


For anyone having trouble getting their text on the path, this is what your cursors should look like.
ON the path:


NOT ON the path


Monday, 21 January 2008
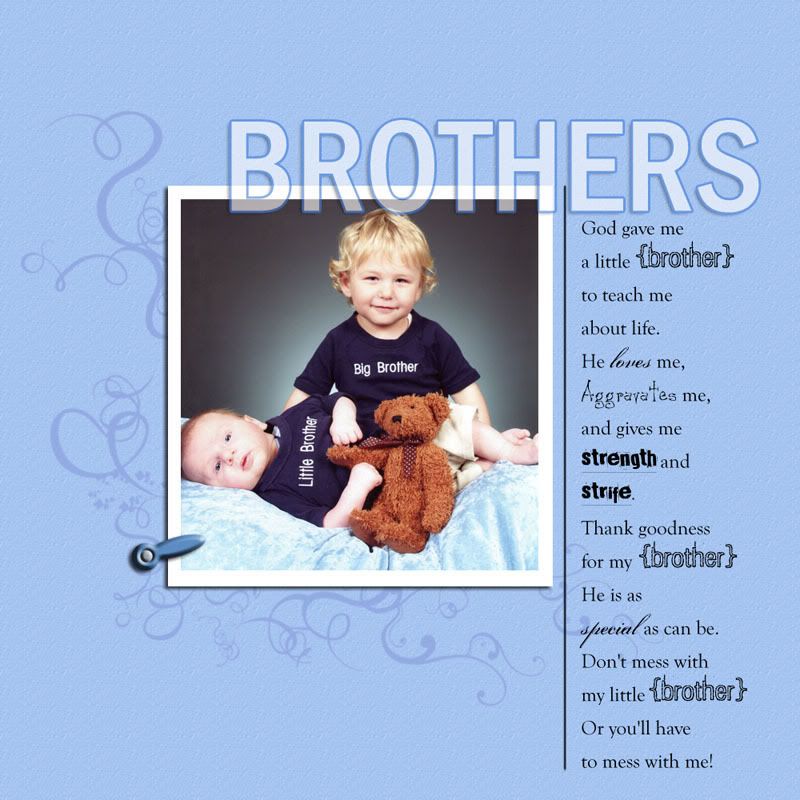
B is for Brothers...
And now for something completely different... LOL
My entry for the B challenge:
(Click to Enlarge)

Credits:
Flourish Brushes - Designfruit
Selected Fonts - Misprintedtype
Everything else made by Me
Photo provided by Jac
My entry for the B challenge:
(Click to Enlarge)
Credits:
Flourish Brushes - Designfruit
Selected Fonts - Misprintedtype
Everything else made by Me
Photo provided by Jac
Sunday, 20 January 2008
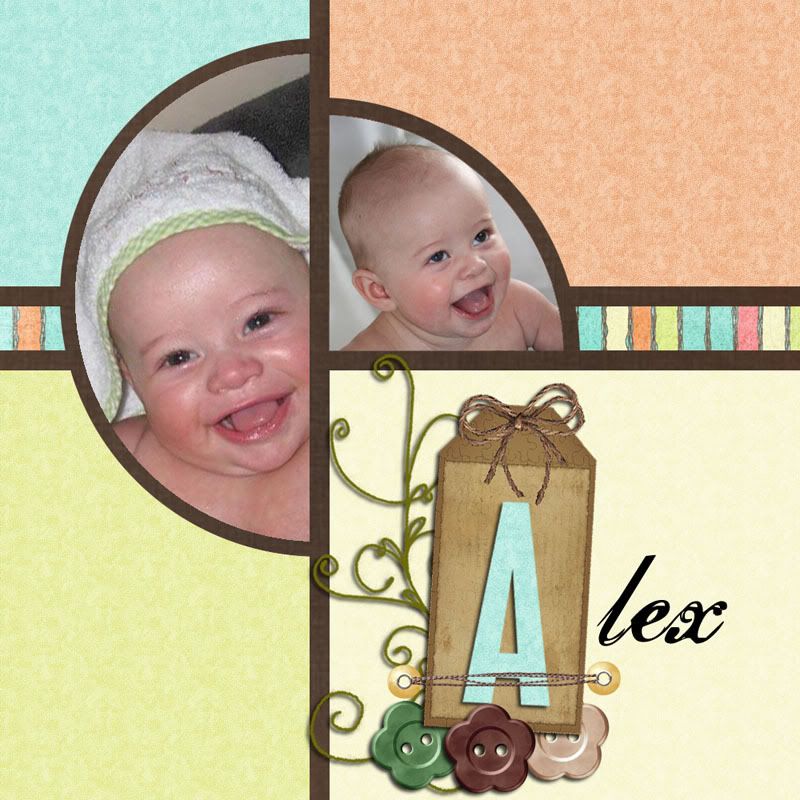
Some more layouts
Another DSJ Challenge entry - that's pretty much the only reason I scrap these days. LOL
We're doing 'Letters of the Alphabet', this was my entry for the letter A. You will hopefully be seeing 25 more like this!
(Click to Enlarge)

Credits:
Coloured Backgrounds - Me
Striped Background - Leah Riordan Designs (Funky Floral)
Flower Buttons - Atomic Cupcake
Tag - Debbie and Laura (Family History)
Flourish & Tie - July (DreadFully Happy)
Photos provided by Miki
And this one was for Joshelle's Member Challenge.
(Click to Enlarge)

Credits:
Frames - Me
Everything Else - Nayyancita (Summer Delights)
Photos provided by Shay
We're doing 'Letters of the Alphabet', this was my entry for the letter A. You will hopefully be seeing 25 more like this!
(Click to Enlarge)
Credits:
Coloured Backgrounds - Me
Striped Background - Leah Riordan Designs (Funky Floral)
Flower Buttons - Atomic Cupcake
Tag - Debbie and Laura (Family History)
Flourish & Tie - July (DreadFully Happy)
Photos provided by Miki
And this one was for Joshelle's Member Challenge.
(Click to Enlarge)

Credits:
Frames - Me
Everything Else - Nayyancita (Summer Delights)
Photos provided by Shay
Subscribe to:
Posts (Atom)
